
Back
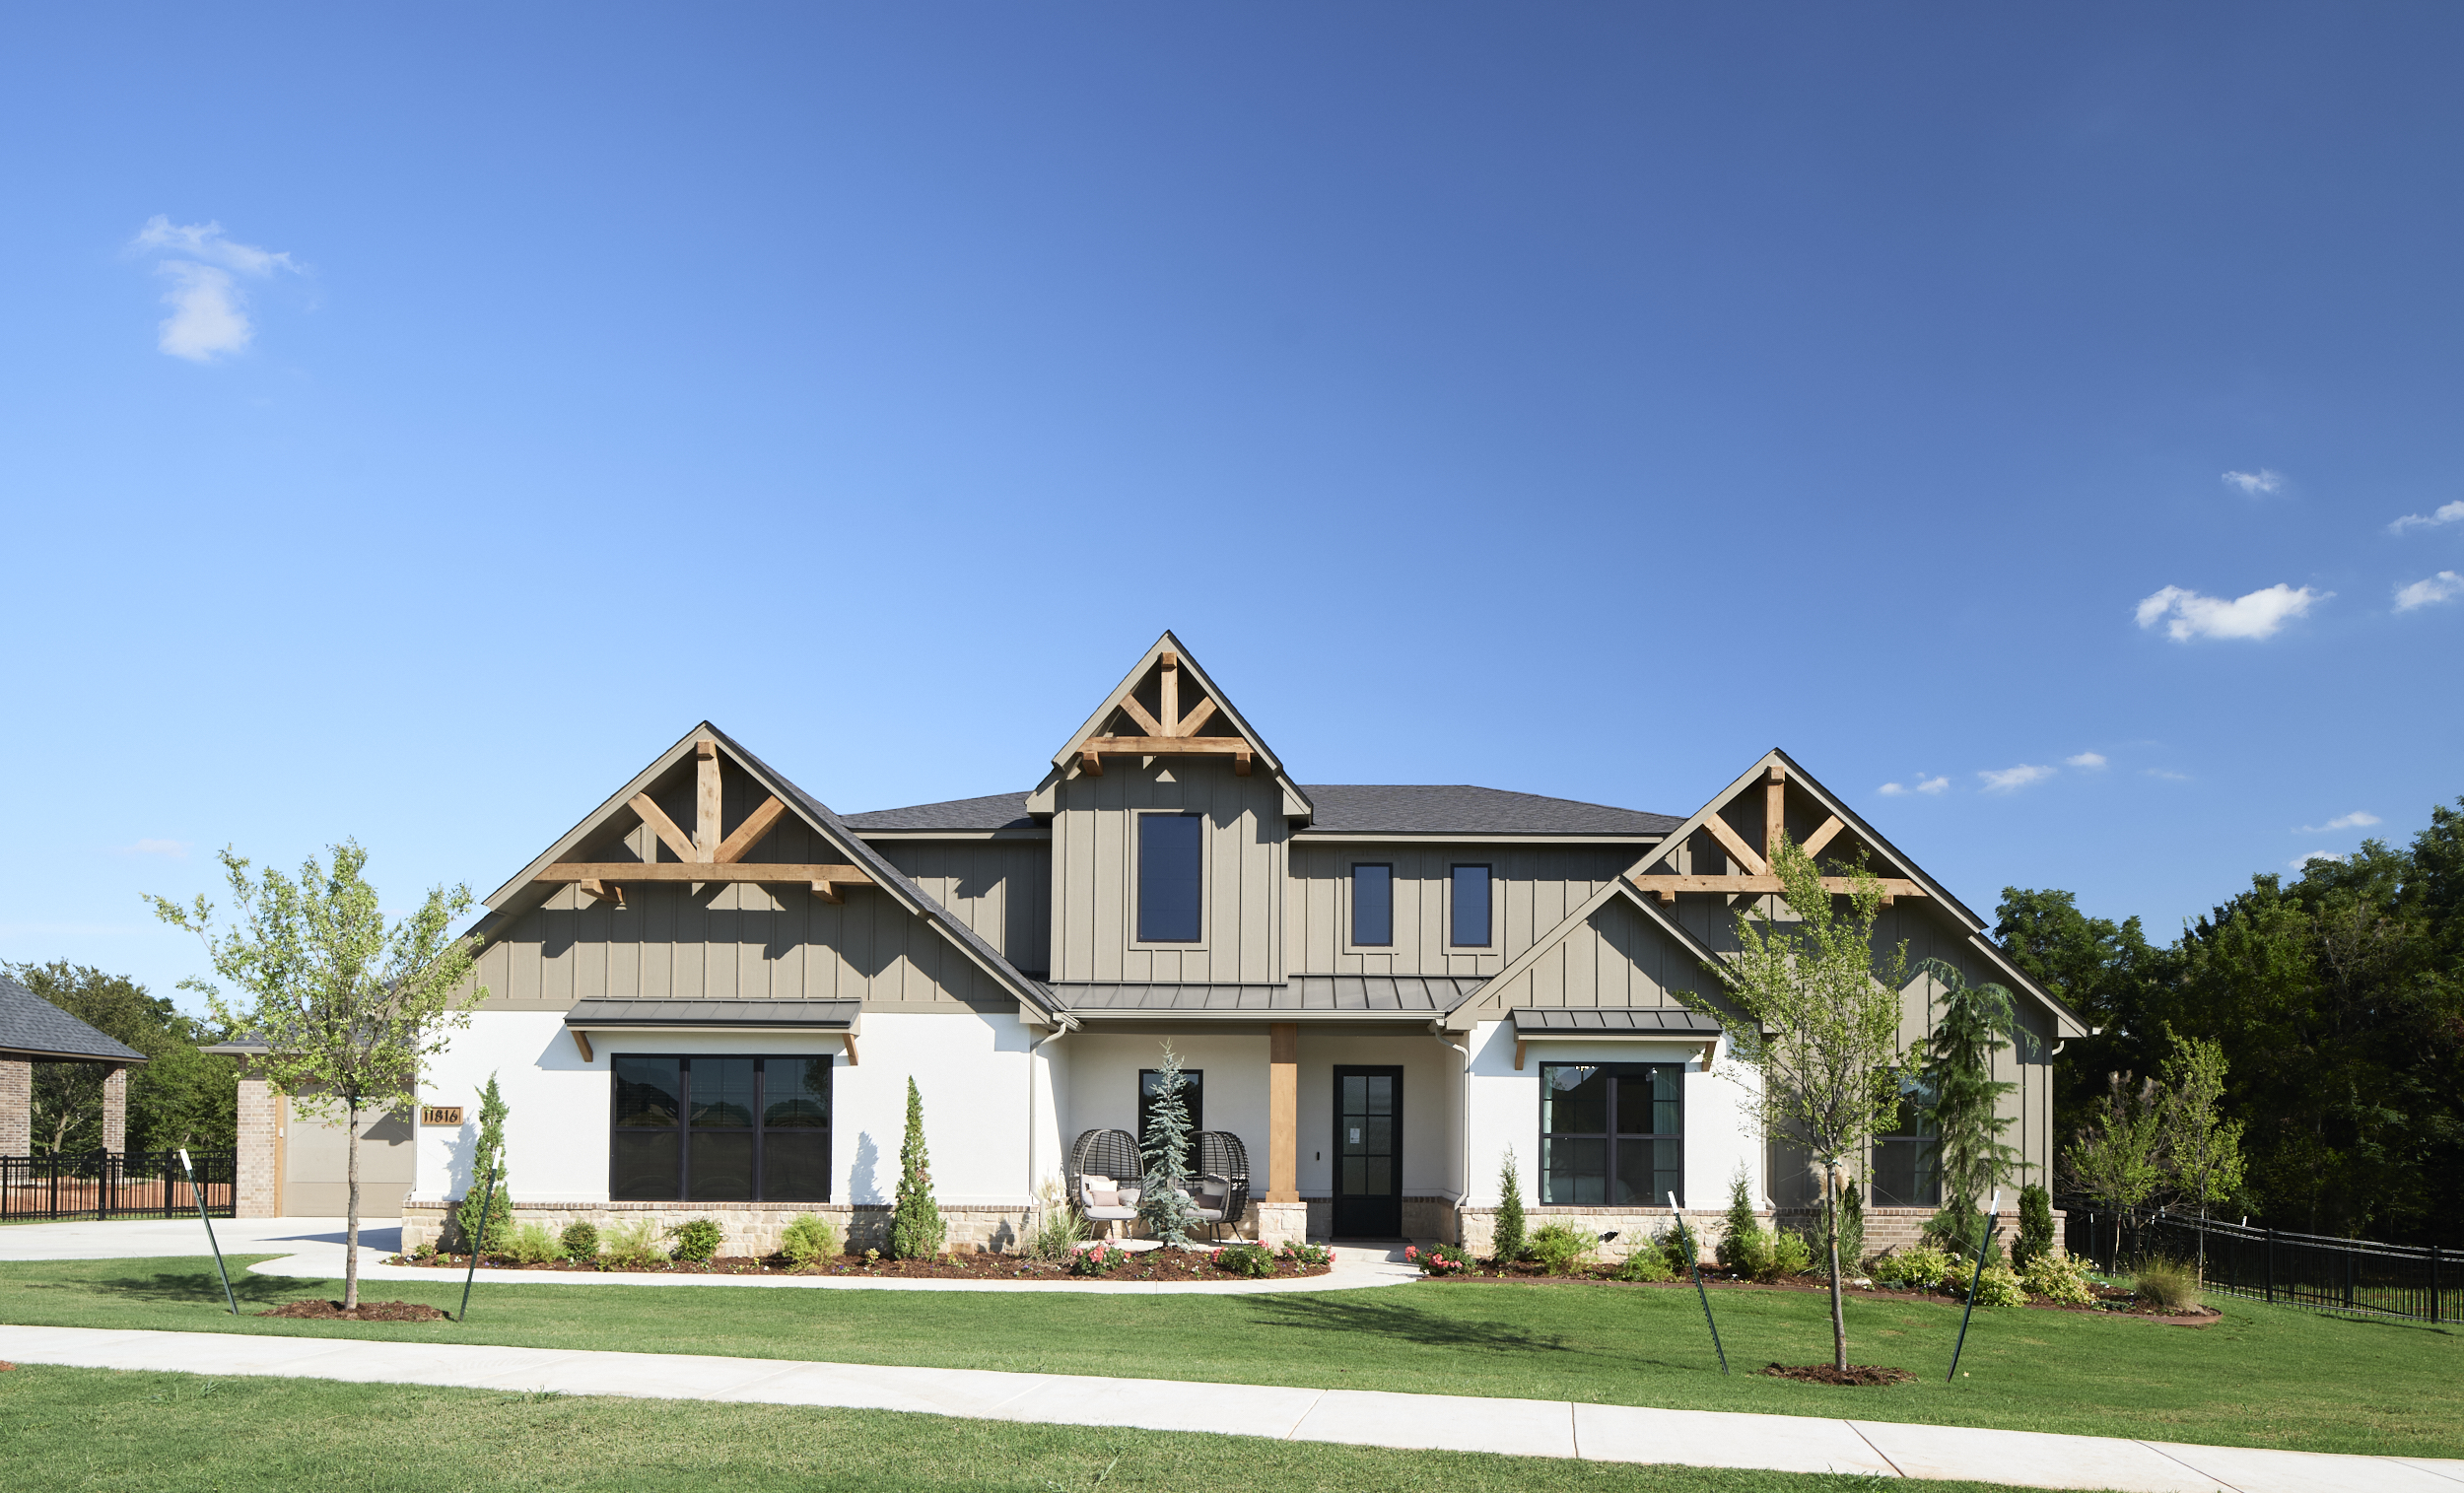
There’s nothing quite like building a home that’s truly yours—from the layout to the light fixtures, every decision reflects your vision. At Landmark Fine Homes, we believe custom home building should feel exciting, not overwhelming. Whether you’re starting from scratch or personalizing one of our thoughtfully designed floor plans, a little preparation goes a long way.
Here are some helpful tips, a customizable checklist, and important things to consider before starting your journey to a fully personalized home.
When you choose to custom build, you’re doing more than choosing finishes—you’re designing how your home lives and feels every day. You have the freedom to:
At Landmark Fine Homes, many of our customers start by selecting one of our curated floor plans and then working with our in-house design and pre-construction teams to customize it to fit their needs. It’s the best of both worlds: a strong starting point and the freedom to personalize.
1. Start with Your Lifestyle
Think through how you use your current home and what’s missing. Do you need more space for entertaining? A quieter home office? More outdoor living space? Let your daily habits guide your layout decisions.
2. Prioritize Your Must-Haves
Not every upgrade or change needs to happen immediately. Make a list of non-negotiables—things like extra storage, a larger kitchen island, or an oversized garage—and focus your budget on what matters most.
3. Think Long-Term
How long do you plan to live in this home? Will your family grow or change over time? Designing with the future in mind helps ensure your home adapts with you.
4. Bring Inspiration
Photos, Pinterest boards, and even magazine tear-outs can help your Design Coordinator understand your aesthetic. Visual examples streamline the design process and help avoid second-guessing decisions.
5. Be Flexible—but Informed
Construction involves a lot of moving parts. Trust your builder's guidance and keep an open mind—but also stay involved and informed at each milestone. Communication is key.
Use this checklist to make sure you’re thinking through the big (and small) details when custom building:
Layout & Functionality
Kitchen & Dining
Owner’s Suite
Outdoor Living
Tech & Utilities
Finishes & Features
Many Landmark homeowners begin with one of our proven floor plans and work with our team to tweak it into something truly personal. Want to bump out a garage bay? Turn a bedroom into a home gym? Combine two closets into one luxurious walk-in? We can help make that happen.
Some popular customizations include:
Our New Home Consultants and Pre-Construction Coordinator are here to guide you from the first draft to the final walkthrough—ensuring every change aligns with your lifestyle, budget, and building timeline.
Custom building is a journey—and one you don’t have to navigate alone. Our team is here to simplify the process, offer expert guidance, and turn your ideas into a reality.
Whether you’re dreaming of a cozy cottage or a spacious forever home, Landmark Fine Homes will help you build a space that fits your life beautifully—right down to the last detail.
Let’s build your dream home, your way.
At Landmark Fine Homes, we’re always working to create communities where lifestyle, location, and lasting quality come together seamlessly. That’s why we’re excited to introduce two of our newest upcoming neighborhoods—The Springs at Cypress Plains and Monte Vista. Whether you’re seeking low-maintenance luxury or a spacious retreat for your family, one of these new communities might be just what you’ve been waiting for.
If you’re looking for a home that offers convenience, community, and comfort—all behind a gated entrance—The Springs at Cypress Plains is where you’ll want to be.
Located in the highly sought-after Deer Creek School District, Cypress Plains is designed for those who love to stay active and connected. Homes in this community will range from 2,400 square feet and up, offering generous living space while still embracing manageable, right-sized floor plans.
This gated community will feature:
Whatever stage of life, Cypress Plains will deliver the comfort and security you’re looking for in your next home.
Prefer wide open spaces and a little more room to grow? Welcome to Monte Vista—our newest luxury community in Norman, designed with family living and long-term comfort in mind.
Homes in Monte Vista will begin at 2,700 square feet and sit on half-acre lots, giving you the space to stretch out, entertain, or simply enjoy your private outdoor oasis. With Norman Public Schools serving the area, Monte Vista offers a perfect blend of exceptional education, modern homes, and a neighborhood that feels like home from the start.
Ideal for families, entertainers, or anyone who values space and privacy, Monte Vista will offer:
Whether you’re building your forever home or seeking a spacious new start, Monte Vista is the kind of community you’ll want to grow into—and grow with.
No matter which neighborhood feels like the right fit, one thing is certain: Landmark Fine Homes is committed to building quality homes with thoughtful design and lasting value. Both Cypress Plains and Monte Vista offer exciting new opportunities to create the lifestyle you’ve been dreaming about—whether that means simplifying or expanding.
More details and available homesites will be released soon. In the meantime, if you're interested in getting early access to floorplans, lot availability, or community updates, we encourage you to reach out to our team.
Your new home is waiting—now all that’s left is choosing the right community to call home. Whether it’s the gated charm and amenities of Cypress Plains, or the spacious comfort and natural beauty of Monte Vista, Landmark Fine Homes is here to help you build a home that fits your life.
Let’s build something beautiful—together.
When it comes to building a new home, energy efficiency should never be an afterthought. At Landmark Fine Homes, it’s a top priority. That’s why every home we build comes with a HERS® score—an industry-standard way of measuring a home's energy performance.
But what exactly is a HERS score, and why should you care? Let’s break it down.
HERS stands for Home Energy Rating System. Think of it like a miles-per-gallon rating for your home. The score is determined through a detailed inspection conducted by a certified RESNET® rater who evaluates everything from insulation levels to HVAC performance and window efficiency.
The lower the HERS score, the more energy-efficient the home is.
Homes with lower HERS scores not only reduce your environmental impact—they also lower your utility bills. A more efficient HVAC system, quality insulation, tight ductwork, and smart design mean your home stays comfortable year-round without overworking your systems.
That translates to:
At Landmark, we believe that energy efficiency should come standard—not as an upgrade. That’s why every home we build is tested and scored with the HERS system.
We don’t just talk about sustainability—we build it into every wall, window, and foundation.
Here’s how we do it:
We’re proud to be among the builders that hold ourselves to a higher standard, because we know your home should be as smart and efficient as it is beautiful.
As energy costs rise and sustainability becomes more important than ever, having a home that’s built with energy savings in mind is no longer optional—it’s essential.
When you build or buy with Landmark Fine Homes, you’re not just getting a beautiful, high-quality home. You’re getting one that’s built to last, designed to save, and measured to perform.
If you’re ready to experience the difference of a home that works smarter, not harder, let’s talk. Whether you're buying move-in ready or starting a custom build, your future home will come with the confidence of a HERS score—and the performance to match.
As summer heats up, the Oklahoma City metro comes alive with festivals, concerts, outdoor fun, and family-friendly activities. From July through August, there's no shortage of ways to make the most of the season. Here’s our roundup of must-do events and staycation ideas to enjoy the rest of your summer!
Fourth of July Celebrations & Fireworks
Bricktown Summer Nights
Every Friday through August 15, enjoy free live music in Bricktown from 6–11 PM.
Mid-Week Farmers Markets at Scissortail Park
Wednesdays in summer (June‑August), 6–9 PM—perfect for local produce, food, and crafts
Saturday Morning Farmers Markets
Every Saturday, 9 AM–1 PM at Scissortail Park—great for fresh finds, and every Saturday, 8 AM–1 PM at The Well in Norman.
Bluegrass & Opry Shows
Catch the Oklahoma Opry in Bricktown on July 4 and July 19.
OKLAHOMA! Musical at Civic Center
A summer production running July 29–August 3 at Civic Center Music Hall.
OKC Baseball Club Games
Cheer on the Triple-A Comets at Chickasaw Bricktown Ballpark—early August series vs. Albuquerque and Salt Lake.
Brews, Bites & Bands festival at Frontier City
Chee
Boathouse District Water Sports
Kayaking, paddle boarding, and more along the Oklahoma River. Keep an eye out for events like the Stars & Stripes River Festival.
OKC Zoo & Botanical Garden
Explore shaded trails, splash parks, and special summer guest exhibits.
Paseo Arts District
Art galleries, festivals, and First Friday Gallery Walks—all summer long.
Adventure District Attractions
Visit Science Museum Oklahoma, National Cowboy & Western Heritage Museum, and more for air-conditioned discovery.
OKANA Resort Staycation
Cool down with a stay at OKANA—enjoy waterpark slides and a relaxing beach atmosphere.
OKC offers a rich variety of ways to enjoy July and August:
Whether it’s outdoor concerts, family adventures, or weekend escapes, the OKC metro buzzes with summer energy.
Stay hydrated, plan ahead (especially for indoor-outdoor transitions), and check event details before heading out—especially for ticketed shows. This summer is full of sunny memories—so get out there and explore!
Landmark Fine Homes is proud to celebrate more than 25 years of building not just beautiful homes, but also strong relationships and vibrant communities throughout the Oklahoma City metro. Since our founding, we’ve been guided by a simple mission: to build homes that reflect the lives of the people who live in them—and to always give back to the communities we serve.
Reaching this 25-year milestone means more to us than just business longevity. It’s a testament to the trust our homeowners have placed in us, the loyalty of our trade partners and suppliers, and the dedication of our team. It’s also a moment to reflect on how far we’ve come and to recommit ourselves to the values that got us here—excellence, integrity, and community.
To celebrate this major milestone, Landmark Fine Homes will be giving away a series of $2,500 donations to local non-profits throughout the year. We believe that a strong community is the foundation of every great home, and we’re excited to honor the organizations doing meaningful work to uplift others.
We’re thrilled to announce that the first recipient of our 25th Anniversary Giving Campaign is The Sparrow Project, a local non-profit with a heart for families navigating the journey of special needs and disabilities.
The Sparrow Project exists to support families by offering inclusive programming, sensory-friendly events, respite care, and real connection. Their mission is to provide spaces where everyone belongs, regardless of ability—offering dignity, joy, and encouragement to children with special needs and their families. Whether it's monthly events, educational workshops, or peer connection, Sparrow Project serves as a vital lifeline to the families in our community who need it most.
You can learn more about their impact here:
About the Sparrow Project
Support for Families
As a locally owned company, we take pride in our deep ties to this community. We live here, we raise our families here, and we care deeply about seeing this community thrive. Supporting organizations like The Sparrow Project is just one way we’re investing in that future.
Stay tuned throughout the year as we continue recognizing other local non-profits that are making a difference. Here’s to 25 years of homebuilding—and even better relationships.
Thank you for being a part of our journey.
As the days get longer and the sun shines a little brighter, there's no better time to make your move into a new home. At Landmark Fine Homes, we're welcoming the changing season by opening the doors to some of our most stunning model homes—many of which are available for purchase—and offering limited-time incentives to help you save big.
Whether you're looking for a move-in ready dream home or considering building from the ground up, there's never been a better time to spring forward with us.
This season, our beautifully designed model homes are more than just showcases—they’re ready to be yours. These homes feature carefully curated design choices, open-concept layouts, and upscale finishes that make life feel just a little more elevated.
Available Model Homes:
16200 Native Drive
Now through June 1, we're offering a special rate buy-down incentive on select homes. This program is designed to help you secure a lower mortgage interest rate, which could mean significant savings on your monthly payment.
Eligible homes include:
505 Campfire Lane
9008 Prairie Valley Drive
1218 Flint Hills
7904 NW 163rd Street
1620 SW 163rd Street
These homes are move-in ready and packed with thoughtful features—perfect for making summer memories in your brand-new space.
Certain restrictions may apply based on FICO score and down payment. Please see our preferred lender for more details.
Whether you’re dreaming of cookouts in your new backyard, lounging in a light-filled living room, or entertaining family in your dream kitchen, Landmark Fine Homes has something just for you.
Our communities are thoughtfully placed across the OKC metro, giving you access to top schools, local shopping, outdoor recreation, and the warmth of true neighborhood living.
Let us help you find the perfect home, the right location, and the best opportunity to save before summer arrives. Contact us today to tour available models, learn more about our rate buy-down program, or explore our custom build options.
Your dream home is blooming at Landmark Fine Homes!
Spring is a season of renewal, making it the perfect time to refresh your home—whether you're planning to sell or simply want to enjoy a cleaner, more organized space. If you're thinking about putting your house on the market, a well-prepped home can make all the difference in attracting buyers and securing a great offer. Here’s a helpful checklist to get your home in top shape!
Before listing your home, take the time to clear out unnecessary items and create a more open, inviting space. Go room by room and:
✔ Empty junk drawers and organize cabinets
✔ Remove excess decor and store it for the move
✔ Clear off countertops and surfaces for a clean look
✔ Sort through closets and donate items you no longer need
A clutter-free home feels more spacious and helps buyers envision their own belongings in the space!
Spring cleaning isn’t just for fun—it helps your home shine! Tackle:
✔ Baseboards, walls, and doors
✔ Light fixtures and ceiling fans
✔ Windows (inside and out)
✔ Grout, tile, and carpets
✔ Kitchen appliances inside and out
✔ Bathrooms, including sinks and tubs
A sparkling clean home makes a great first impression!
First impressions start at the curb! Spruce up your home’s exterior with:
✔ Fresh mulch and trimmed landscaping
✔ A power wash for siding, walkways, and driveways
✔ A clean, welcoming front door with a seasonal wreath
✔ Updated outdoor lighting
Now’s the time to handle those small but noticeable fixes, such as:
✔ Patching nail holes and scuffs on walls
✔ Fixing leaky faucets and running toilets
✔ Replacing burnt-out light bulbs
✔ Touching up paint where needed
✔ Checking for loose cabinet handles or hinges
Staging doesn’t have to be complicated! Simple changes can make a big difference:
✔ Arrange furniture to maximize space and flow
✔ Use neutral colors and soft textures for a cozy feel
✔ Add fresh flowers or greenery for a lively touch
✔ Keep countertops and surfaces clutter-free
A home that smells fresh feels inviting. Open windows for natural airflow, use light-scented candles or diffusers, and avoid overpowering air fresheners.
Once your home is prepped, keep it in show-ready condition. Have a quick checklist for last-minute touches before a showing, such as:
✔ Making beds and tidying up each room
✔ Removing pet items and odors
✔ Turning on soft lighting for a warm ambiance
Even if you’re not selling, spring is the perfect season to give your home a fresh start! Tidy up, declutter, and make simple updates to enjoy a clean and inviting space all season long.
If you're preparing to sell and looking for your next home—whether it's a move-in-ready option or a custom build—reach out to us today! We'd love to help you find the perfect fit.
At Landmark Fine Homes, we believe that building a home should be a personalized experience—down to the details that matter most to you. That’s why we offer Customizable Incentives, designed to give you the flexibility to choose what adds the most value to your new home.
Unlike traditional builders who offer a one-size-fits-all incentive, we take a different approach. Whether closing costs are your top priority, you’ve been eyeing a storm shelter for added peace of mind, or you’d love to put extra funds toward upgraded finishes, we want to hear what matters to you. Our team will work with you to craft an incentive package that best fits your needs.
The process is simple: when you visit a Landmark Fine Homes community, share what would make your home-buying journey even better. From there, we’ll explore the options available to you. No gimmicks—just real solutions tailored to your priorities.
Your home should reflect you, and so should your incentives. Let’s build something great together. Visit one of our model homes today to learn more!
March in Oklahoma City offers a vibrant array of activities and events catering to diverse interests. Whether you're an art enthusiast, sports fan, or looking for family-friendly staycation ideas, there's something for everyone.
First Friday in the Paseo Arts District
Kick off the month by immersing yourself in the local art scene at the First Friday Gallery Walk in the Paseo Arts District. On the first Friday of every month, including March 7, 2025, galleries and studios open their doors from 6:00 PM to 9:00 PM, showcasing works from over 80 artists. Enjoy live music, refreshments, and the unique ambiance of this historic district.
Oklahoma City Thunder Home Games
Basketball fans can catch the Oklahoma City Thunder in action at the Paycom Center. March home games include:
For a complete schedule and ticket information, visit the Oklahoma City Thunder's official schedule.
Peter Pan at the Civic Center Music Hall
Experience the magic of Peter Pan at the Civic Center Music Hall. This timeless tale promises to captivate audiences of all ages with its enchanting story and memorable music. Performance dates are March 18-23. Find ticket info here.
Oklahoma Farm-to-Table Festival
On March 22, 2025, from 10:00 AM to 3:00 PM, the Oklahoma History Center hosts the Oklahoma Farm-to-Table Festival. This free, family-friendly event celebrates the state's agricultural heritage with hands-on activities, demonstrations, and insights into both historic and modern farming practices. More details are available on the Oklahoma History Center's event page.
Tulip Festival
As March transitions into April, the Myriad Garden's Tulip Festival on March 29-30 showcases vibrant floral displays, signaling the arrival of spring. This event is perfect for nature lovers and those seeking picturesque photo opportunities.
Cultural Festivals
The Red Earth Festival on March 21-23, showcases Native artists and tribal dance presentations, offering a deep dive into indigenous culture.
OKC Home & Outdoor Living Show
The OKC Home & Outdoor Living Show, which will be held March 21-23 at the OKC Fairgrounds, provides inspiration for home improvement enthusiasts.
For those planning a staycation during Spring Break, Oklahoma City offers several enticing options:
OKANA Resort
Adjacent to the First Americans Museum, the newly opened OKANA Resort provides a luxurious getaway without leaving the city. Enjoy amenities like a spa, dining options, and cultural experiences that celebrate Native American heritage.
OKC Adventure District
Explore attractions such as the Oklahoma City Zoo, Science Museum Oklahoma, and the National Cowboy & Western Heritage Museum. Special Spring Break events, including "Spring Break at the Cowboy" from March 17 to March 22, offer interactive experiences for families. Details can be found on the OKC Adventure District's events page.
With a diverse lineup of events and activities, Oklahoma City in March 2025 promises memorable experiences for residents and visitors alike.
With Valentine’s Day right around the corner, it’s the perfect time to reflect on what truly makes a house a home—comfort, community, and a place you love. At Landmark Fine Homes, our Springs communities are designed to provide just that. Whether you're looking for a low-maintenance lifestyle, an active and social neighborhood, or a peaceful retreat, our Springs communities offer everything you need to love where you live.
Our Springs communities aren’t just about beautiful homes—they’re about fostering connection and convenience. Imagine a neighborhood where you can take a morning stroll on tree-lined sidewalks, enjoy a cup of coffee with neighbors in the clubhouse, or stay active with a game of pickleball. It’s all part of the charm that makes our Springs communities stand out.
Every home in our Springs communities is thoughtfully designed with comfort and customization in mind. From open-concept floor plans to high-end finishes, you’ll find the perfect space that fits your lifestyle. Plus, with our exclusive in-house Design Center, you can tailor your home to match your style, making it a place you truly love coming home to.
Each of our Springs communities is built with the active lifestyle in mind and complete with premium amenities to enhance your daily life.
✅ Yard Maintenance Services – Say goodbye to mowing and weed upkeep in those front flower beds.
✅ A Welcoming Community Clubhouse – The perfect space for social gatherings, events, or simply relaxing.
✅ Refreshing Community Pool – Cool off and unwind during the summer months.
✅ Well-Equipped Fitness Center – Stay active without ever leaving the neighborhood.
✅ Secure Gated Entrance – Enjoy peace of mind and added privacy.
✅ Pickleball Court – Have fun and stay fit with one of the fastest-growing sports.
If you’re looking for a home you’ll love in a community that fits your lifestyle, consider one of our five Springs locations:
🏡 The Springs at Skyline Trails – Yukon, OK
🏡 The Springs at Valencia – Edmond, OK
🏡 The Springs at Native Plains – SW Oklahoma City, OK
🏡 The Springs at Flint Hills – Edmond, OK
🏡 The Springs at Cypress Plains – North OKC, OK
This Valentine’s season, make a commitment to love where you live. Explore our Springs communities today and find a home that makes your heart happy! 💕
Ready to fall in love with your new home? Contact us to learn more about available homes and home sites in our Springs communities.