


Back
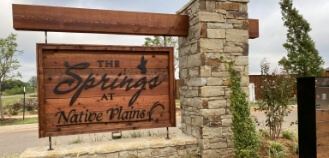
In the heart of the Oklahoma City Metro Area, Landmark Fine Homes proudly presents its Springs community product line—a collection of communities designed to cater to the needs and desires of active adults. While not age-restricted, each Springs community embodies the spirit of vibrant living, offering a unique blend of amenities and layouts tailored to enhance an active lifestyle. Landmark Fine Homes' Springs communities prioritize fostering an environment that promotes social engagement, physical activity, and a sense of community.
Landmark Fine Homes currently boasts four active adult communities within the Oklahoma City Metro Area. These communities, while distinct in their layouts and amenities, share a common goal: to prioritize and support an active adult lifestyle.
Central to each Springs community is the meticulously designed community clubhouse—a vibrant hub that welcomes residents into a world of exclusive amenities and social opportunities. These clubhouses are thoughtfully crafted to serve as the beating heart of the community, fostering a sense of camaraderie and connection among residents.
Within these clubhouses, residents find spaces for socializing, events, and various activities. From game nights to book clubs, the Springs community clubhouse offers a space for a diverse range of gatherings to ensure that residents can engage with their neighbors and build lasting friendships.
A commitment to an active lifestyle is embodied in the state-of-the-art fitness centers provided in each Springs community. These fitness centers are equipped with modern exercise facilities, offering residents an array of options to stay fit and healthy. Whether it's cardio workouts or strength training, the Springs communities cater to the diverse fitness preferences of their residents.
To beat the Oklahoma heat and promote an active lifestyle, Landmark Fine Homes has incorporated community pools into the Springs communities. Whether residents prefer a leisurely swim or invigorating laps, these pools provide a refreshing oasis for relaxation and exercise.
Within the Springs communities, Landmark Fine Homes goes beyond the ordinary, offering a secure and exclusive living experience by designating each community as a gated haven. This additional layer of security not only provides residents with peace of mind but also contributes to the creation of a close-knit and private environment.
In addition to the gated entrance, Landmark Fine Homes understands the value of time for its active adult residents. Hence, each Springs community ensures a hassle-free lifestyle by including lawn maintenance as part of the package. Say goodbye to the burdens of yard work and hello to more time to engage in the activities you love.
These thoughtful inclusions in the Springs communities showcase Landmark Fine Homes' commitment to providing not just residences, but living experiences that cater to the varied preferences and needs of those who inhabit the community.
In the Springs communities by Landmark Fine Homes, the emphasis is not only on building houses but on cultivating vibrant and active living environments. These communities offer a thoughtful blend of social engagement, physical activity, and diverse amenities to create a unique experience for residents.
If you are intrigued by the prospect of joining an active adult community where maintaining a dynamic lifestyle is a top priority, we invite you to explore our Springs communities. Connect with us to learn more about the unique features of each community, discover available homes, and find the perfect place to call home. At Landmark Fine Homes, you'll not only find a residence but a community where you'll feel right at home—where vibrant living is not just encouraged, but celebrated.
As we navigate through the month of February, marked by the spirit of love, it's an opportune time to extend that sentiment to our homes. There are many ways we can give a little extra TLC to our homes. Our Design Team and Customer Care Department have compiled a guide for ways we can demonstrate this attention to detail, not just in the month of love but throughout the seasons.
As the year transitions, usher in a seasonal refresh to your home. Spring, with its promise of renewal, offers the perfect opportunity to make simple yet impactful changes. Swap heavy winter fabrics for lighter, breathable ones. Bring in fresh flowers to add a pop of color and natural beauty.
And don't forget to pay attention to the often-neglected spaces – consider rotating your mattress, fluffing up pillows, and freshening up rugs and carpets for a rejuvenated home.
Show your home love by adopting a mindful approach to the maintenance side of home ownership. Regularly inspect and address small issues before they escalate.
As we enter spring, perform a comprehensive check that includes examining exterior caulking, changing batteries in smoke detectors, lubricating garage door parts, flushing the hot water tank, testing air conditioning, changing HVAC filters, cleaning out the dryer vent cap, and clearing gutters and downspouts.
Caring for your home can be easy when you are prepared. Here are additional items to check for the seasons ahead.
In the summer, be sure to water the foundation with a water hose, change HVAC filters monthly, check fencing and repair and loose boards, caulk any concrete cracks that are ¼” in width and check interior caulking.
In the winter, disconnect your hoses and cover exterior faucets when it is below freezing, check heat tape at your furnace, change HVAC filters monthly and use sand during icy weather for traction (avoid using ice melt or rock salt).
This mindful checklist ensures that your home not only looks its best but also functions at its optimum.
Create rituals of comfort that weave love into the fabric of your home. Whether it's a quiet morning coffee on the porch, a family game night, or finding a cozy spot to read your favorite book, these rituals become the heartbeat of your living space. As you move throughout the year, these rituals become a constant to look forward to and find comfort in.
Display compassion for your home by approaching decluttering with a discerning eye. Donate items that no longer serve a purpose and create space for the things that mean the most to you. Consider the changing needs of your living space and adjust the decluttering process accordingly. Spring cleaning offers a perfect opportunity to assess, reorganize, and embrace the evolving nature of your home.
In the spirit of caring for your home, let love be the guiding force throughout the seasons. Be intentional with your daily rituals, surround yourself with meaningful decor, and engage in acts of maintenance that reflect your commitment to the well-being of your space. As you navigate the new year and the upcoming change of the seasons, may your home continue to be a sanctuary of love, warmth, and cherished moments.
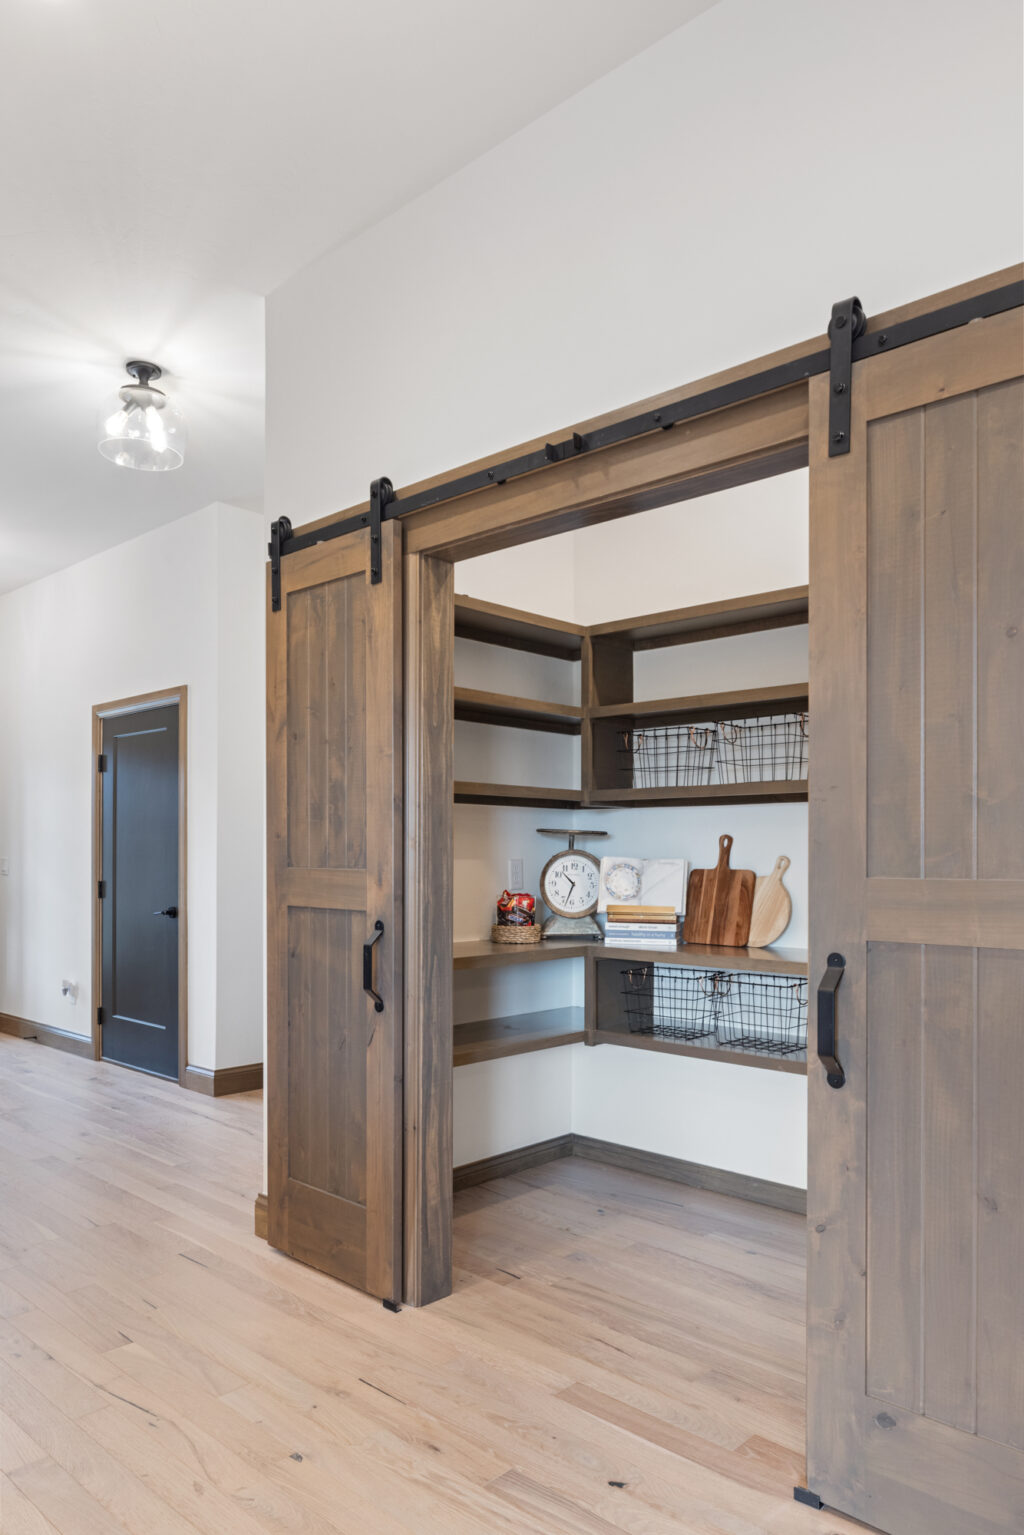
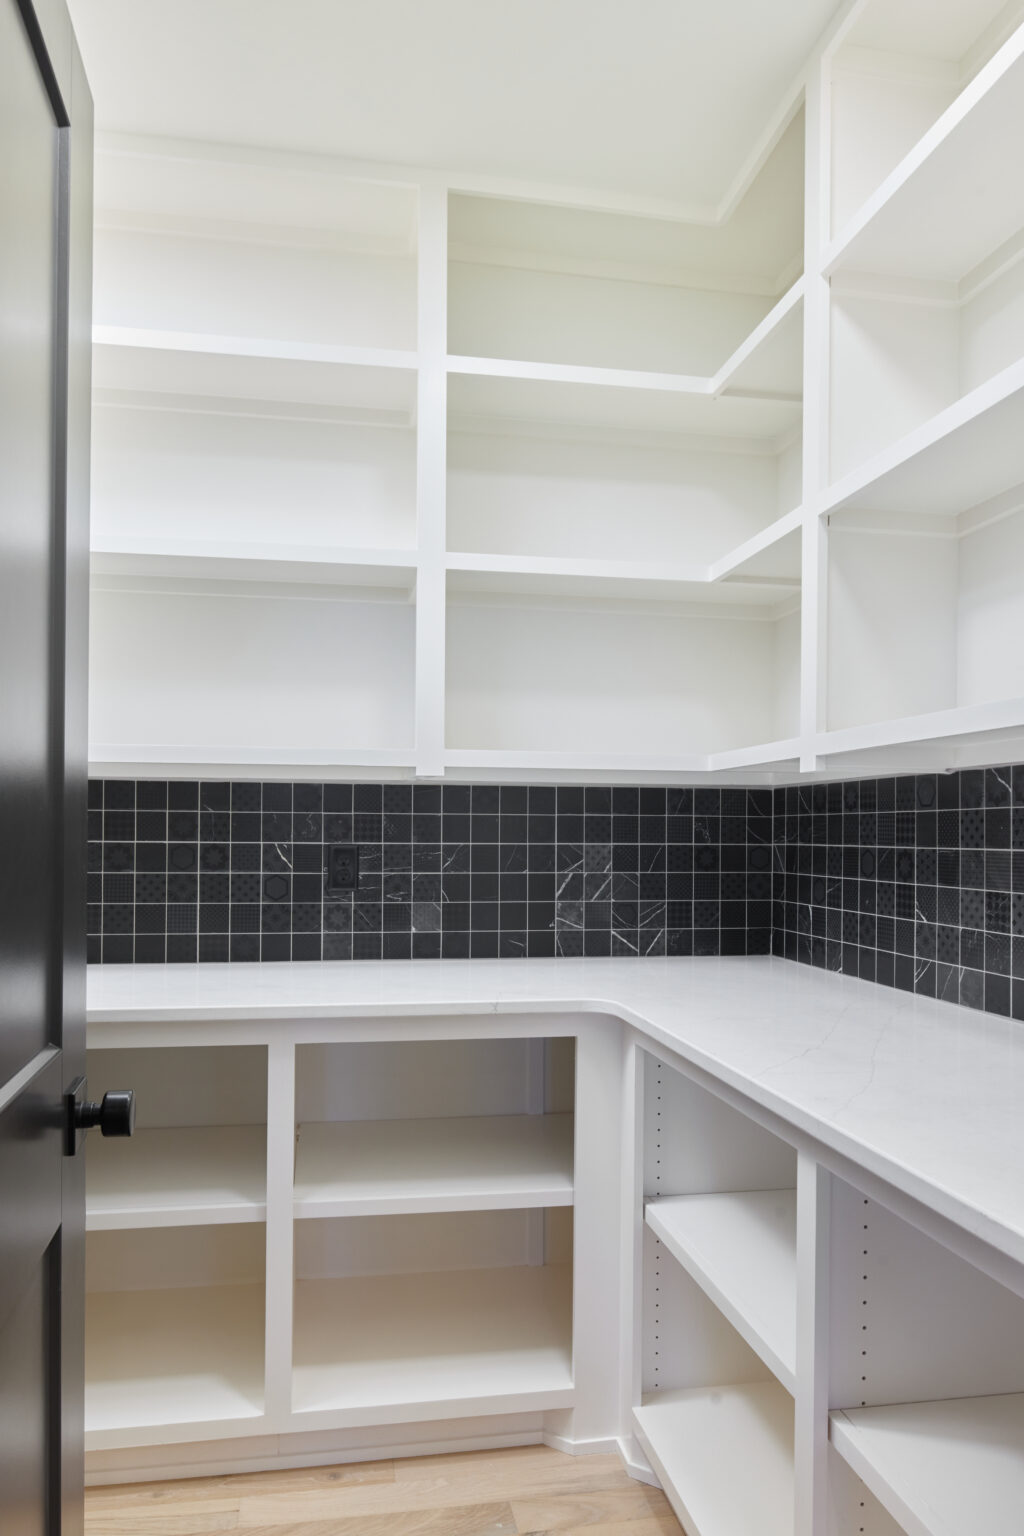
As we begin a new year, it's not uncommon for many of us to set resolutions aimed at self-improvement. One common resolution that often finds its way to the top of the list is the commitment to becoming more organized. Whether it's creating a clutter-free living space or streamlining daily routines, the pursuit of organization can significantly impact our overall well-being. We can apply our organizational skills to numerous areas of life, but from the eyes of a home builder, we’ll focus on two essential corners of a home: the closet and the pantry.
Your closet is more than just a place to store clothes; it's where you begin and end your day. Adopting a systematic approach to your closet can simplify your daily routine and save you time for the rest of your day.


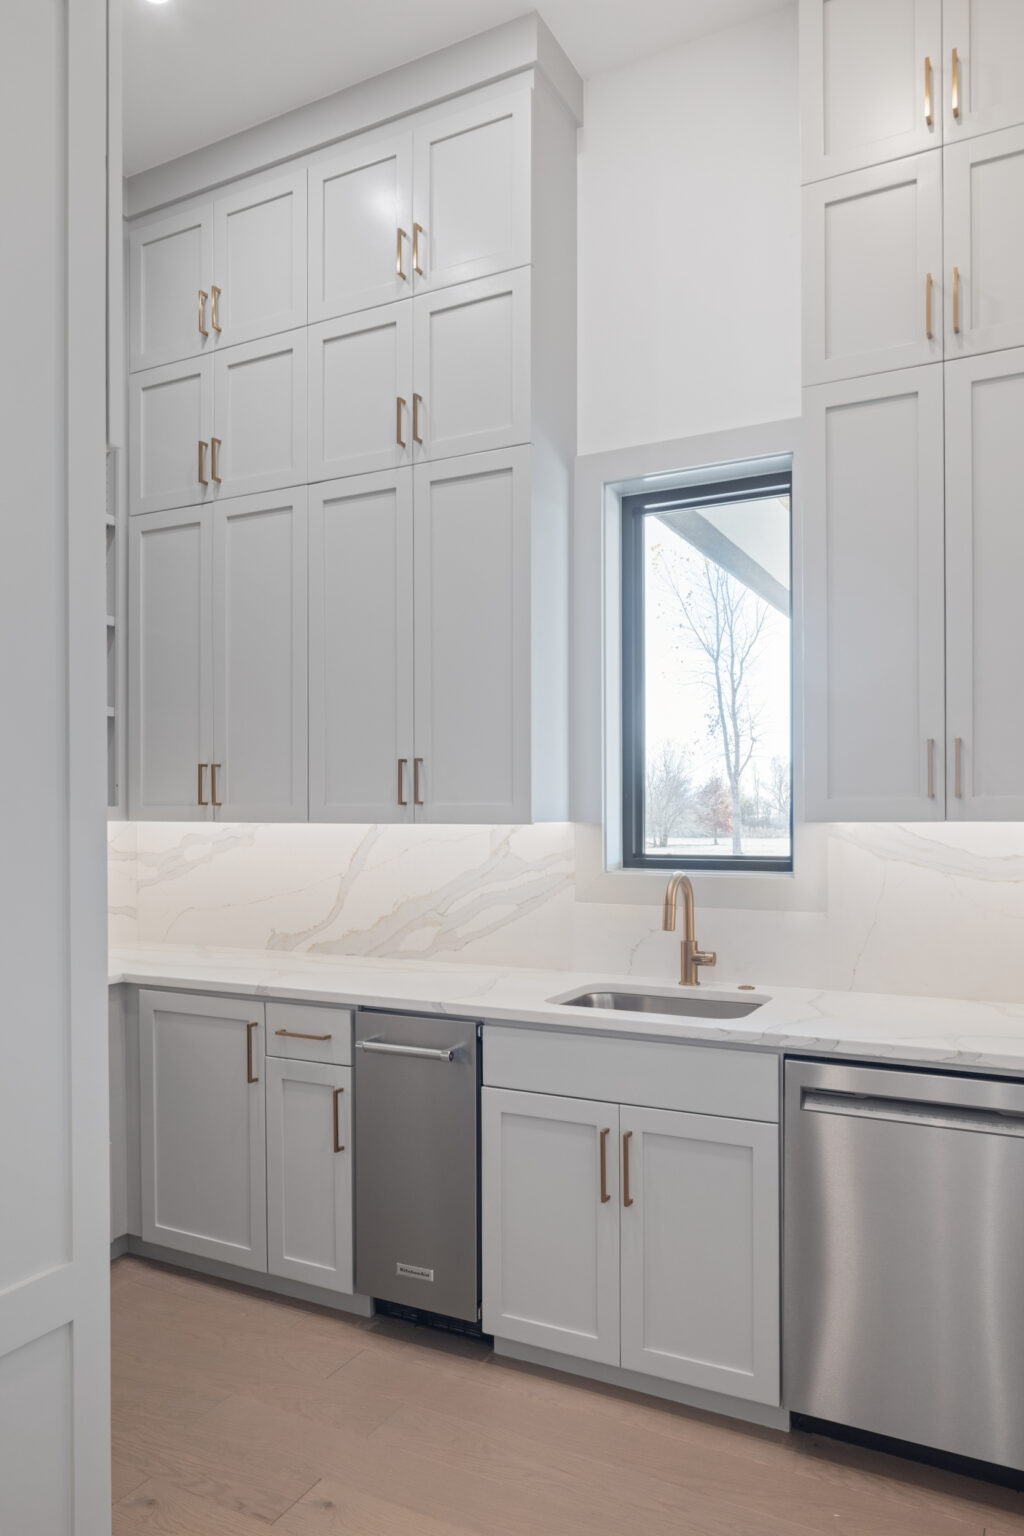
Most would say the kitchen is the heart of any home, but we’ll take it a step further and say it’s a well-organized pantry. Here are tips to transform your pantry into a space that is both efficient and pleasing to the eye.


In the pursuit of an organized life, the closet and pantry serve as foundational spaces that can transform daily living. By adopting intentional decluttering practices, investing in quality storage solutions, and implementing thoughtful organizational strategies, you can create beautiful and efficient spaces.
Whether you're revamping an existing space or embracing the blank canvas of a new build, we hope this new year marks the beginning of a more organized and harmonious chapter in your home.
It is that time of year- time for the Parade of Homes! This year Landmark Fine Homes has 8 Homes featured in the Parade.

Now is the perfect time to buy a new home. Overall, living in the right home can help your family feel comfortable, safe, and happy while providing opportunities for personal growth and connections with the community. It can be a place where your family can thrive and create lasting memories together.
Please stop by one of our Parade Homes this weekend, find the perfect completed home, or talk to us about custom home building. While you are there, be sure and ask about our Parade of Homes Incentives!
For a limited time, Homeowners have the choice of three different offers based on what works best for them.
Option #1:
Save up to $90,000 on a 30-year mortgage PLUS receive up to $2,000 in closing costs! Landmark Fine Homes will buy down your interest rate by two points for the full lifetime of your loan for a limited time only. This two-point buy-down varies in the total percent saved off your interest rate based on factors such as credit score, home price, down payment, and more.*
Option #2:
Save up to $13,000 in the first two years PLUS receive up to $2,000 in closing costs! Landmark Fine Homes will buy down your interest rate by 2% for the first year of the loan and 1% for the second year of the loan for a limited time only. Years three and beyond are locked in at the full interest rate. This is a fixed-rate mortgage with no penalty to refinance at any time.*
Option #3:
If you are a Homeowner with the funds available to purchase the home without getting financing from a lender, Landmark Fine Homes will provide 2% of the purchase price (up to $15,000) toward personalized enhancements to your home and/or closing costs.
Offer valid thru November 30, 2022
Are you ready to take advantage of these great deals? Contact us TODAY!
*Savings amount based on home price, credit score, down payment, loan amount, and other factors. The dollar figures provided are estimates only
Have your heard of AirBnB or VRBO? It has become the newest way to lodge when you are away on vacation or on business trips. Many people are buying properties for this specific reason.
Check out a few things to consider before you decide if this is a option for you.
As the march into winter gets underway, a lot of people are already starting to plan their spring and summer vacations. Oh, they’ll go somewhere sunny, or to a fantastic resort or maybe, if you’re lucky, your house.
They might as well, you’re going to be going on that fantastic cruise after all. Besides, you’ve heard such good things about being an AirBnB host. Your guests will end up paying for most of your trip, it’s totally win-win.
Isn’t it?
Using your personal home, in whole or in part, as a short-term rental can certainly help pay the bills, but the truth is that short-term rentals also have huge issues you have to consider. It’s not as easy as listing on AirBnB and hoping for the best. You’ll need to do considerable legwork before getting started, otherwise you may find yourself in a lot of trouble and with expensive problems that eat all your profit. Read More......
Every year between Thanksgiving and Christmas we host our annual "Thanksmas Party" to give our employees, trade partners and families we have built for the opportunity to give back to The Salvation Army of Cleveland County. This organization is very dear to our hearts. Santa always comes to make sure everyone has been good and we get the opportunity to have our pictures taken with the Big Man!
Our team also takes a day and Rings the Bell! This is such a staple of the holiday season as much as the BC Clark jingle! If you have never volunteered, you are missing out! It is such a great way to spread some holiday cheer. When they say, every penny counts, it truly does! We had fun this year and tried to put a really LARGE check into the kettle. Needless to say, it didn't work! Click on the picture and you can check out the video we did!
Our focus on giving back and The Salvation Army is not limited to Christmas Time. We had the opportunity to build The Judy McKown Children's Activity center that opened last year. This beautiful building gives families a safe warm place to go to and be mentored by those in our community.
If you are looking for somewhere to give- check out The Salvation Army!
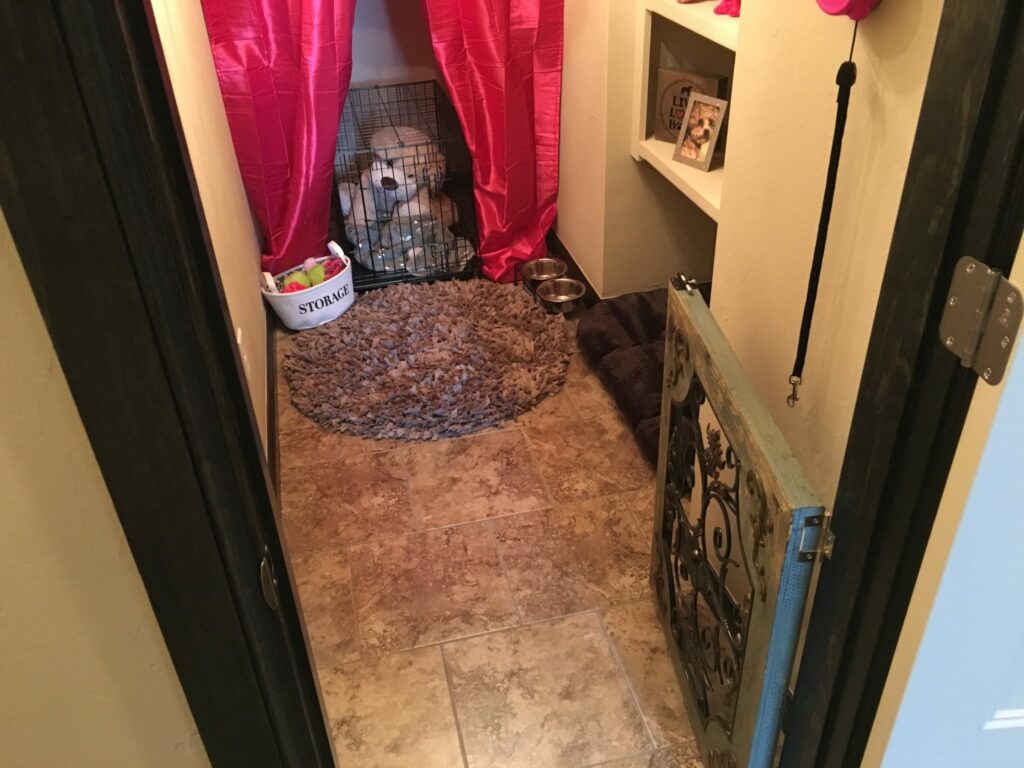
It has never been a secret that animals are a major part of our family. When we posted on Facebook asking everyone to comment with a picture of their puppies the response was overwhelming!! Not only were there a lot of really cute pictures, there were also some really cute names Chloe, Gavin, Opie, Sasha, Mesha, Rizzo, Archer, Jax, Delilah, BellaRose, Boston, Lillian, Buttons, Poppy, Oliver are just to name a few.
We went back and looked at all the cool ideas people have incorporated into their homes. We thought you would love to see some-
What are some of your ideas? We would love to hear them!!


As a homeowner, how do you know whether your home is energy efficient or not? You could guess based on your own understanding of energy efficiency, but it’s much more effective to evaluate the energy efficiency of a home using the Home Energy Rating System (HERS®). To earn a HERS index score, a home must comply with many mandatory standards, including components like window sealing, wall sealants, and insulation. Let’s take a closer look at the HERS® Index, and why it’s so important.
Based on a scale of 0 to 150, the HERS® Index measures a home’s energy efficiency, with 0 being a net-zero energy home that generates as much energy as it consumes. On the other end of the scale, 150 indicates a home built to the minimum standards specified by the 2006 International Energy Conservation Code (IECC). A professional energy auditor determines the HERS® Index Score of a house after physically inspecting the house and conducting a detailed analysis of its energy consumption. Newly constructed homes are expected to score 100 on the HERS® Index, so any score lower than that indicates higher energy efficiency than a standard new home. A home that scores 70 would be 30 % more energy efficient than a standard new home, while a home with a score of 130 would be 30% less energy efficient.
A home’s HERS® Score is calculated by a certified inspector from the Residential Energy Services Network (RESNET). Conducting an energy audit on your home, the inspector compares the data against a ‘reference home’, a designed model home. This model home will be the same size and shape as your home, to keep the score relative to the size, shape, and type of house in which you live. The Energy Rating includes variables like the exterior walls, the floors over unconditioned spaces, ceilings and roofs, attics, foundations and crawlspaces, windows, doors, vents, and ductwork, and HVAC systems, water heating systems and the thermostat.
Determining your home’s score can give you a lot of information about your house. You can learn how efficiently it’s operating, and how you can save money on energy costs by making minor modifications. If you’re planning to sell your home, working towards a better HERS® Index Score can increase its value, and if you’re buying a home, looking at the HERS® Score can help you determine where you might want to make some changes to increase its efficiency.
Talk to Landmark customers and you’ll hear the same thing, over and over. Landmark Fine Homes are built to be both beautiful and energy efficient, and the proof is in the low energy costs for residents of Landmark communities. When you’re ready to build your dream home, Landmark Fine Homes has beautiful new and custom-built homes in a variety of sizes and floorplans, just waiting to become yours. Our homes are, not only energy efficient, but also built with the utmost attention to detail; some are located in active adult communities where you’ll find plenty to do. Make your next house the home of your dreams by contacting Landmark Fine Homes today!\
Winter is right around the corner as temperatures continue to drop! Now is the time to take care of a few maintenance issues around your home to make sure you are ready!
What are other things you do around your house as the temperatures drop?